

Setup guide
This guide walks you through installing and configuring Truemed on your Shopify store, from prerequisites through a final verification pass.
A video walk through of the process to install the payment app can be found here.
Prerequisites
Complete these before your onboarding call so nothing blocks activation.
- Upload your product catalog. Export your active Shopify products as a Plain CSV file, with a SKU on every variant. See SKU upload for the export steps.
- Complete Stripe onboarding. This connects the bank account Truemed pays out to. See Stripe onboarding and payouts.
- Shopify account owner or admin permissions. Required to install and manage third-party payment apps.
Step 1: Install the Truemed Payments App
Installation typically happens live during your onboarding call with your Truemed contact.
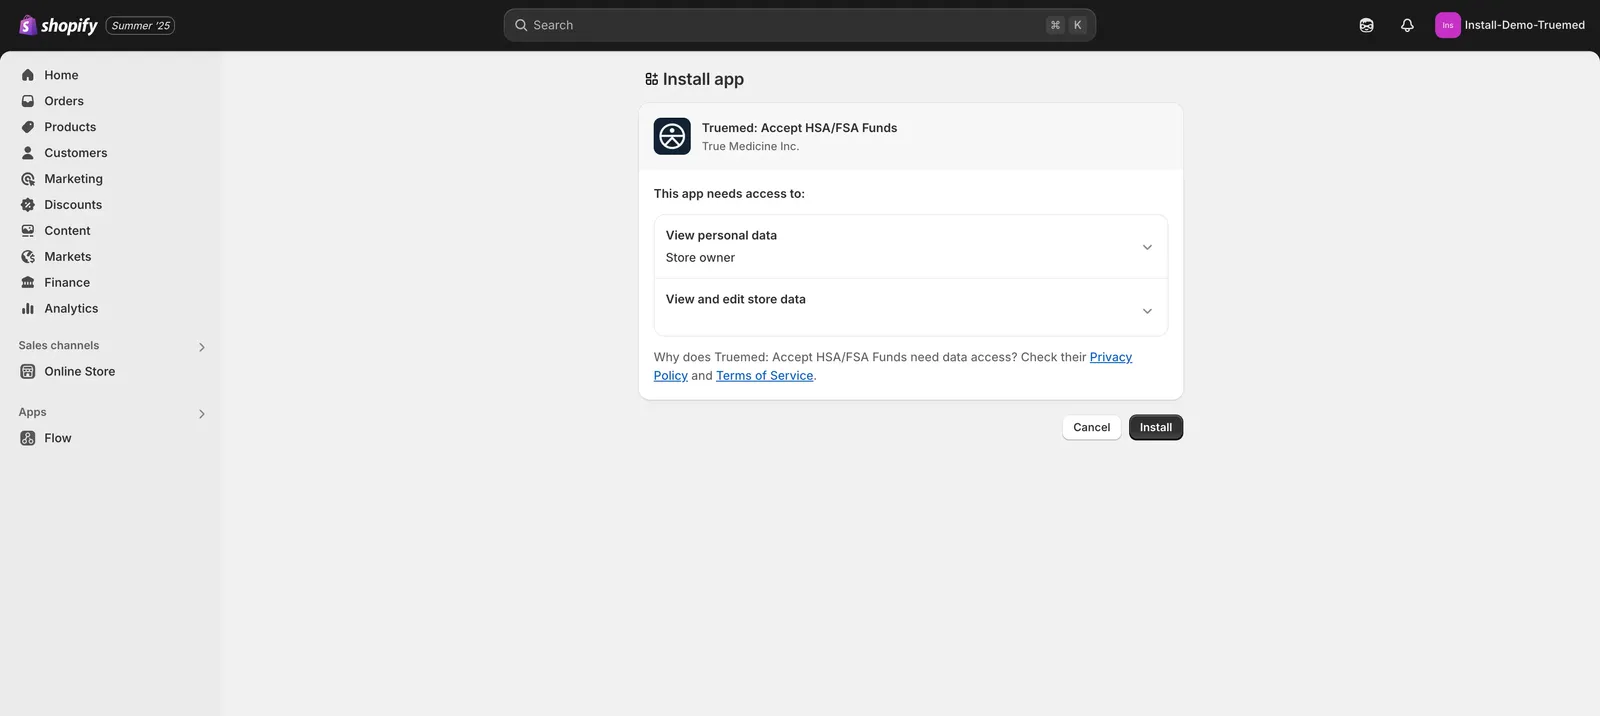
- Open the Truemed app listing on the Shopify App Store
- Review the app permissions and click Install
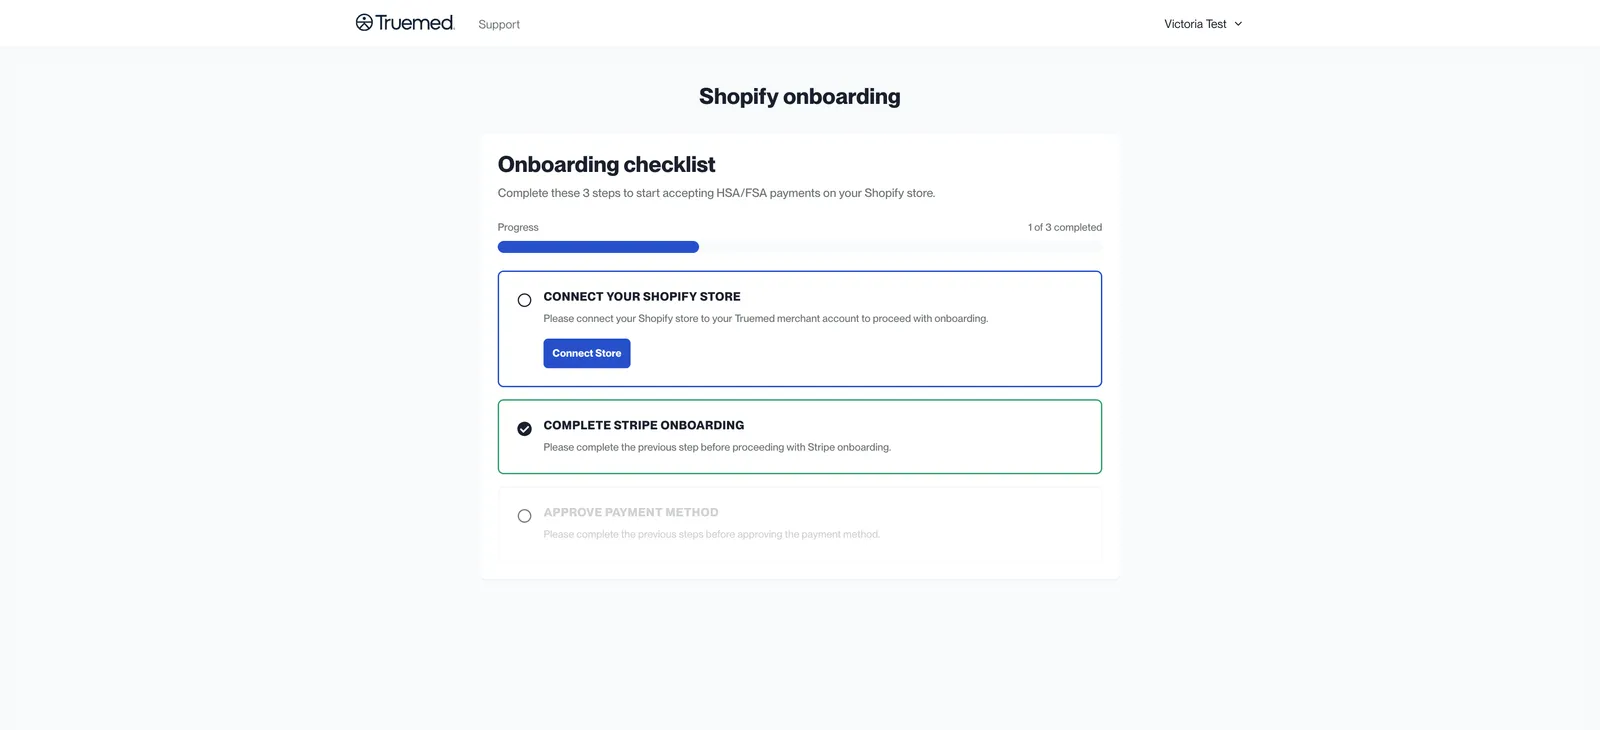
- Most merchants are still logged in from their initial account setup and will land on an onboarding checklist. Click Connect Store
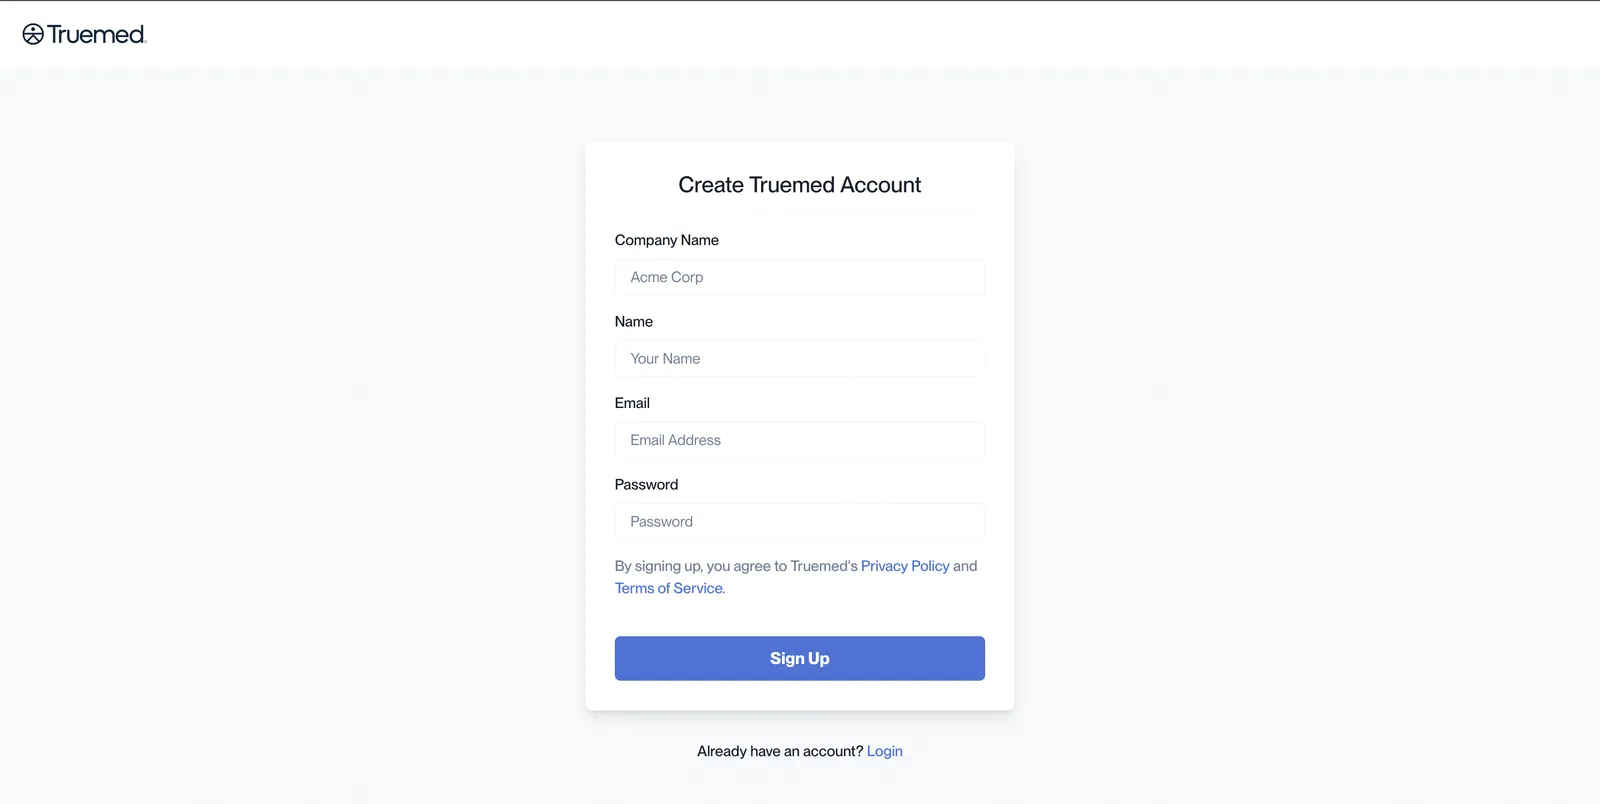
If you are not already logged in, do not create a new account. Click Login at the bottom of the page and sign in to the account you already have.
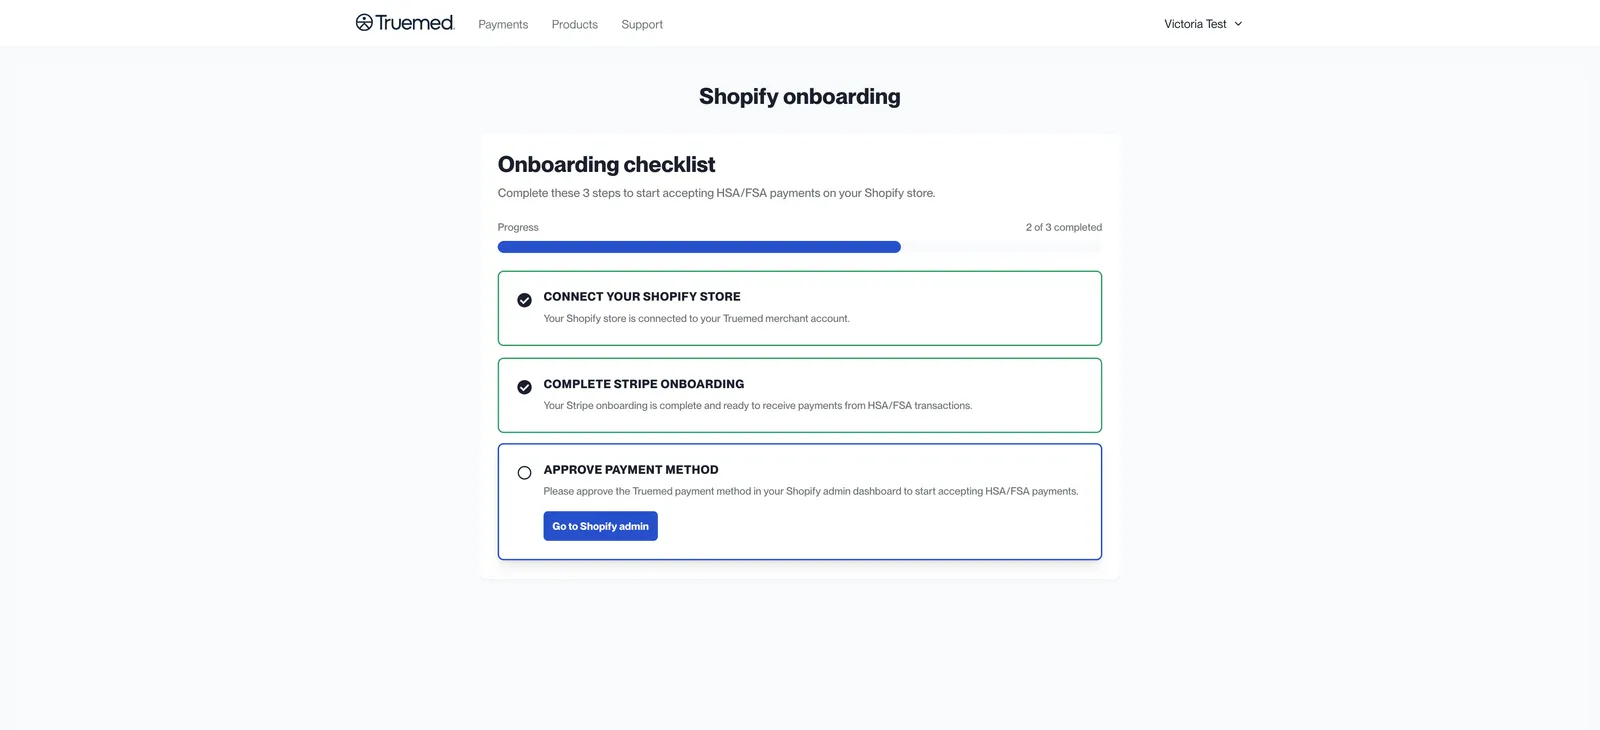
- Click Go to Shopify Admin. You’ll land on the Truemed app settings page
Do not activate the app yet if your Truemed coordinator has instructed you to wait. You’ll be told when it’s time to activate.
Step 2: Activate the Truemed Payments App
Once your Truemed account is configured and your products have been categorized:
- Return to the app settings page (or navigate to Settings > Payments > Additional payment methods and search for “Truemed”)
- Click Activate
The app shows an Active badge once it’s live.
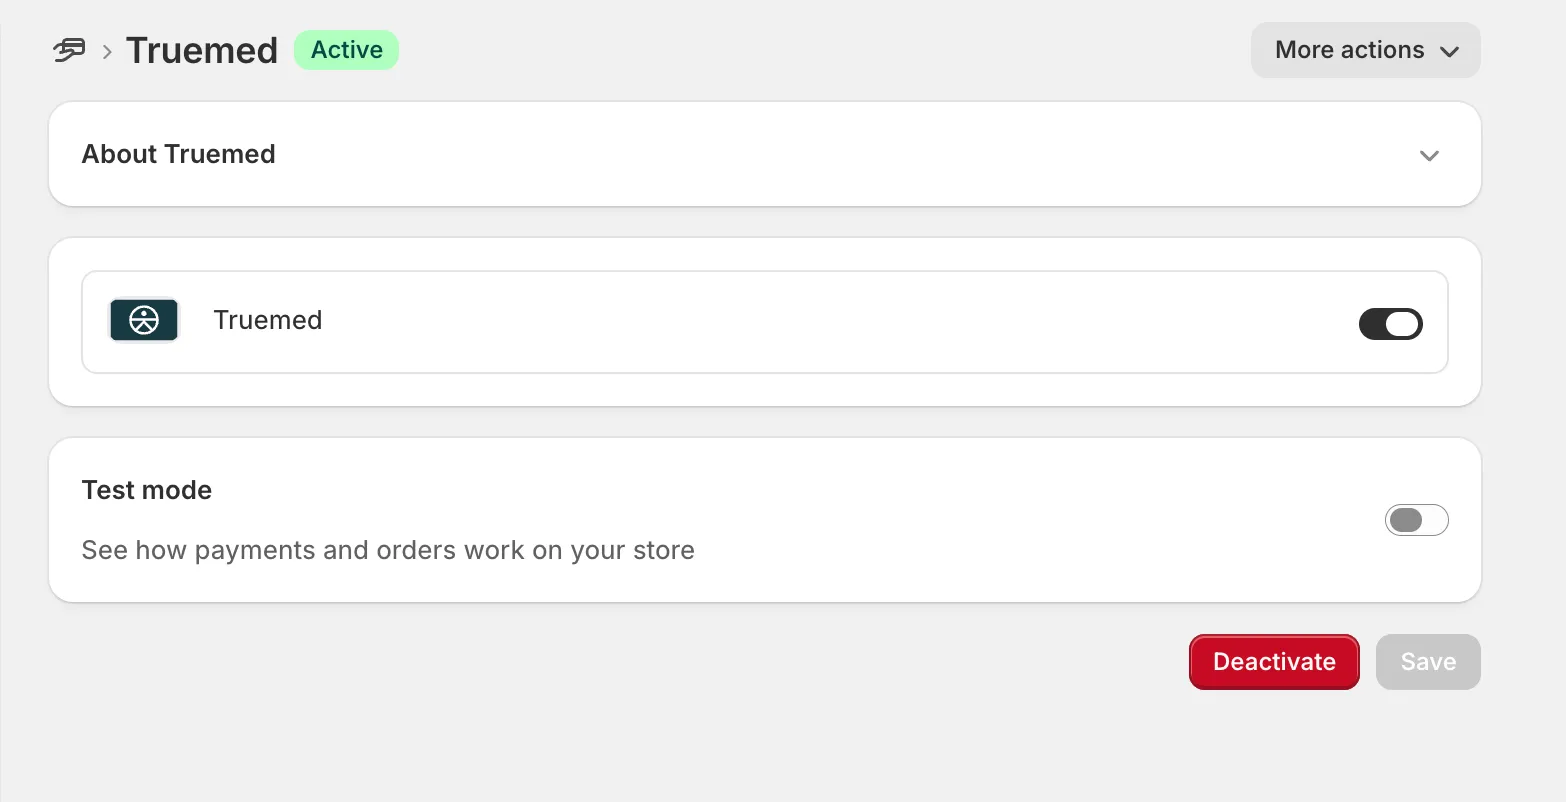
After activation, the Truemed payment option is live immediately. Customers can begin checking out with HSA/FSA funds right away.
To enable, disable, or uninstall the app later, see Manage the Truemed Payments App.
Step 3: Add the product page widget
The product page widget tells customers a product may qualify for HSA/FSA spending while they’re deciding whether to buy. It’s the highest-impact promotion you can add.
Full installation, dark mode, tag-based visibility, and styling options are on the product page widget page.
To carry the same message into checkout, install the Truemed Extensions App and add its HSA/FSA checkout widgets. The app also syncs your catalog to Truemed and shows each variant’s eligibility in your Shopify admin.
Step 4: Set up reimbursements (subscription and hybrid merchants only)
The Truemed Payments App doesn’t support subscription carts. If you sell subscriptions, set up the post-purchase reimbursement flow: the qualification link on your thank you page and your order status page, plus the confirmation email link.
See Subscriptions and reimbursement setup. Skip this step if you only sell one-time products.
Step 5: Verify your setup
After completing setup, run through these checks:
- Visit a product page and confirm the HSA/FSA widget appears
- Start a test checkout and verify “Truemed” appears as a payment option
- Open a product variant in Shopify and confirm the HSA/FSA Eligibility field shows a value (Truemed Extensions App only)
- Place a test order and verify it appears in your Truemed dashboard
- Check your thank you page and your order status page for the qualification link (if reimbursement flow is enabled)
For a full walkthrough of placing test orders without charging real funds, see How to test.
Need help?
- Technical issues: merchants@truemed.com
- Dashboard access: app.truemed.com
- Refer to the Shopify Issues article for common issues